Garlic is easy to grow, but it needs the right techniques and timing. With over 600 garlic varieties worldwide, knowing each one’s needs is key for a good harvest. For those asking can you transplant garlic, the answer is yes, but it’s a careful process. Transplanting garlic can be rewarding for gardeners, and with the right advice, anyone can get a great harvest.
Whether you’re new to gardening or experienced, transplanting garlic can enhance your garden. By using the right methods and tips, you can grow healthy garlic. It’s important to know the different garlic types and their needs. From hard-neck to soft-neck garlics, each has its own traits and needs.
Table of Contents
Understanding Garlic Varieties
When growing garlic, knowing the different types is key. There are mainly two types: hardneck and softneck. Hardneck garlic has a strong flavor, loved by chefs. Softneck garlic is milder and keeps longer.
Before choosing a type, think about can you replant garlic from last year. Some types are better for replanting than others. Also, the climate affects garlic growth, with some types doing better in cooler or warmer weather.
Hardneck vs. Softneck Garlic
Hardneck garlic doesn’t keep as long as softneck garlic. Knowing each type’s traits helps gardeners choose wisely. For example, softneck varieties are great for long-term storage.
How Climate Affects Garlic Growth
Garlic needs at least 6 weeks of cold to form bulbs well. It takes about 8 months to grow. Plant cloves 1 to 2 inches deep and 4 to 6 inches apart for a good harvest.
When to Transplant Garlic
Transplanting garlic at the right time is key for its growth. In most areas, the best time is in the fall, 6-8 weeks before the first frost. This lets the garlic grow well before winter and produce a lot in spring. If you’re wondering if you can transplant garlic, yes, but do it at the right time.
When transplanting garlic, timing is everything for the best results. Climate and daylight hours are important. For example, in the northern U.S., hardneck garlic is planted in the fall, around Halloween. This lets it grow a strong root system before winter, making it healthier and more productive.
Optimal Timing for Best Results
To find the best time to transplant garlic, consider a few things:
- Climate: Garlic likes cool, dry weather, making fall perfect for transplanting in most places.
- Daylight hours: Garlic needs lots of daylight to grow well, so transplanting in fall is best.
- Soil temperature: Garlic grows best in soil between 40°F and 60°F, making fall ideal.
Seasonality and Garlic Growth
Garlic growth changes with the seasons, with different types doing better in different climates and light. Knowing this helps with successful transplanting and growth. By choosing the right time to transplant garlic and considering climate and daylight, you can grow a healthy plant.
Preparing the Soil for Garlic
Soil preparation is key when transplanting garlic. Garlic grows best in well-draining soil with a pH of 6.0 to 7.0. To get this right, gardeners can mix in compost or manure. This boosts soil fertility and structure.
Some important things to think about for soil preparation are:
- Soil pH: Aim for a pH between 6.0 and 7.0
- Soil structure: Well-draining soil is essential for healthy garlic growth
- Organic matter: Add compost or manure to improve soil fertility and structure
By following these tips and preparing the soil well, gardeners can succeed with garlic transplanting. Good soil preparation is vital for garlic’s health and yield. It’s a critical step in the transplanting process.
Adding more organic matter and compost can also improve soil health. This might lead to higher garlic yields. With the right soil preparation and care, gardeners can look forward to a rich harvest of tasty garlic.
Choosing the Right Location
Location is key when transplanting garlic plants. They need full sun to partial shade. So, pick a spot that gets at least 6 hours of direct sunlight daily. Also, the soil should drain well to avoid waterlogged conditions that attract diseases and pests.
Garlic loves loose, fertile, and well-drained soil with a pH between 6.0 and 7.0. If your soil isn’t up to par, get it tested before planting. This ensures your garlic has the best chance to grow well.
When picking a spot for your garlic, keep these points in mind:
- Keep garlic away from other plants to avoid disease and pests.
- Garlic needs at least 8 inches of soil for its roots to grow.
- Good drainage is vital to prevent waterlogged soil and diseases.
Choosing the right spot for your garlic plants is essential for a good harvest. Think about sunlight, soil quality, and drainage. With the right conditions, you’ll enjoy a rich harvest of tasty, homegrown garlic.
| Factor | Ideal Condition |
|---|---|
| Sunlight | Full sun to partial shade |
| Soil pH | Near-neutral range of 6.0 to 7.0 |
| Drainage | Well-draining soil |
Selecting Healthy Garlic Bulbs
Choosing the right garlic bulbs is key for a good harvest. Look for bulbs that are firm and plump, without mold or mildew. It’s also important to pick bulbs that fit your local climate and soil.
Hardneck garlic is best for cold climates, while softneck garlic does well in milder areas. This ensures your garlic will grow well.
For top-quality bulbs, find suppliers who grow their own garlic. This way, you avoid disease risks. Healthy garlic bulbs should have:
- Firm and plump cloves
- Free of mold or mildew
- Suitable for your climate and growing conditions
By picking healthy bulbs, you’re on the path to a great harvest. Plant them 4-6 weeks before the first frost in fall. Make sure they get full sun and well-drained soil. With care, your garlic will grow well and taste amazing.
Don’t forget about planting depth and spacing. Plant garlic cloves 2 inches deep and 6 inches apart. This lets them grow well and get enough sunlight and water.
| Garlic Variety | Planting Depth | Spacing |
|---|---|---|
| Hardneck | 2 inches | 6 inches |
| Softneck | 2 inches | 6 inches |
Transplanting Techniques
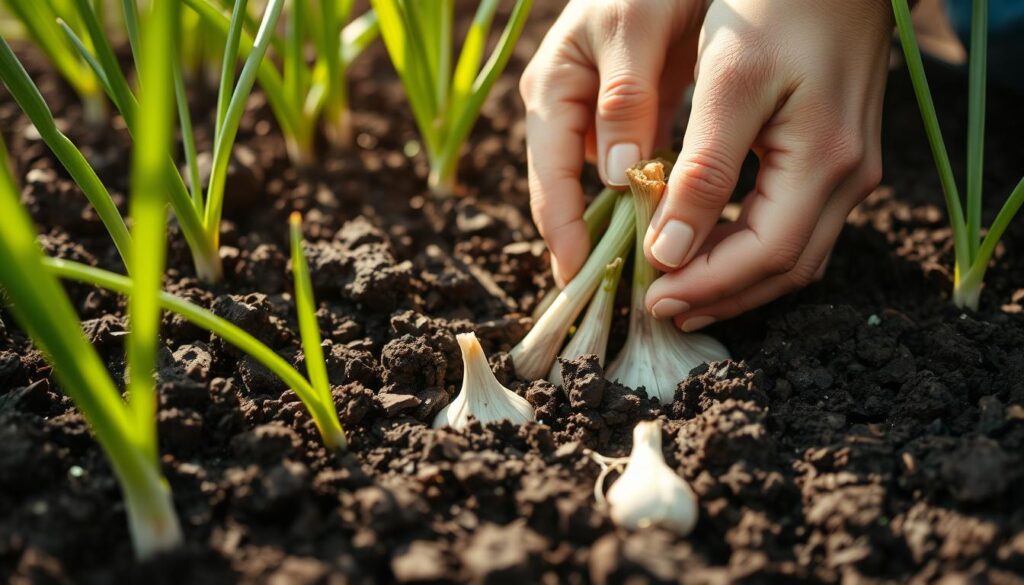
Transplanting garlic needs the right steps for it to grow well. You can replant garlic, but pick healthy cloves and plant them at the best time. Transplanting techniques mean planting bulbs 4-6 inches deep, with the pointed end up. Space them 6-8 inches apart.
Water the soil well after transplanting but don’t overdo it. Here are some tips:
- Plant in well-draining soil with a pH of 6.0 to 7.0.
- Space bulbs 6-8 inches apart for growth.
- Water regularly but avoid too much water to prevent rot and diseases.

By using these transplanting techniques, you can grow garlic successfully. Choose healthy cloves and plant at the right time for the best results.
| Garlic Variety | Planting Depth | Spacing |
|---|---|---|
| Hardneck | 4-6 inches | 6-8 inches |
| Softneck | 2-4 inches | 4-6 inches |
Watering Garlic After Transplanting
After transplanting garlic, it’s key to water them right. Garlic needs steady moisture, most in the first weeks. Sandy soils need more water than loamy ones. Watch the soil moisture and adjust watering to avoid rot.
Some important tips for watering garlic after transplanting are:
- Water garlic plants about once a week after planting, or more in sandy soils.
- Water less if leaves turn yellowish, a sign of too much water.
- Stop watering 2 weeks before harvest, when tops are green and bottom leaves brown.
Proper watering is essential for garlic’s growth. By following these tips and adjusting for soil and plant needs, gardeners can get a great harvest.
| Soil Type | Watering Frequency |
|---|---|
| Sandy Soils | More frequent watering |
| Loamy Soils | Less frequent watering |
| Clay Soils | Least frequent watering due to moisture retention |
Mulching for Healthy Growth
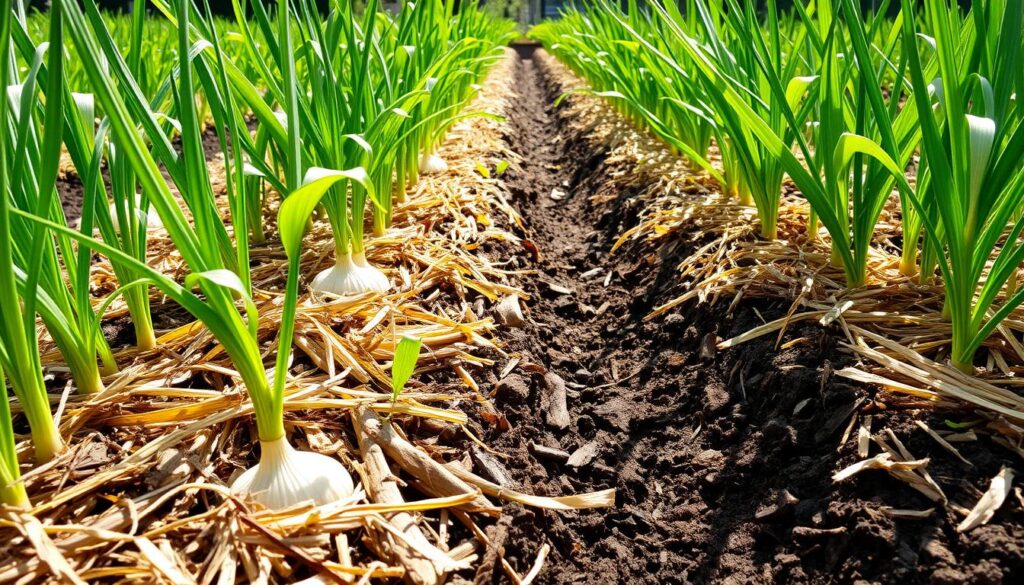
Mulching is a key step when transplanting garlic. It helps keep the soil moist, stops weeds, and controls soil temperature. After moving garlic, using organic mulch like straw or wood chips can greatly help.
Mulching garlic has many benefits. It reduces soil erosion, improves soil structure, and keeps nutrients in the soil. A thick layer of mulch, 6 to 12 inches, creates a perfect environment for garlic to grow. This is vital for garlic to quickly settle and grow well.
Some top mulching materials for garlic are:
- Straw
- Wood chips
- Grass clippings
- Leaf mold
These materials slowly break down, adding nutrients to the soil. By mulching, gardeners can grow healthier garlic and get a bigger harvest.

By following these tips and choosing the right mulch, gardeners can help their garlic grow well. Mulching is a simple yet effective way to improve garlic transplanting results, whether you’re new or experienced.
| Mulching Material | Benefits |
|---|---|
| Straw | Retains moisture, suppresses weeds |
| Wood chips | Regulates soil temperature, adds nutrients |
Fertilization Strategies
Garlic needs a balanced diet to grow well and form big bulbs. The question of transplanting garlic is common. The answer is yes, but only with the right fertilization.
Choosing the right fertilizer is key. A balanced fertilizer with a 10-10-10 ratio works best for garlic. Apply it when planting and again in the spring. Too much nitrogen after May can hurt bulb size.
Best Types of Fertilizers
Good fertilizers for garlic include all-purpose and blood meal. These give garlic the nutrients it needs. Organic fertilizers also improve soil health and support green gardening.
Timing Your Fertilizer Application
When to fertilize is very important. Fertilize every 3-4 weeks during growth, and one last time before bulb swelling in mid-May. This helps garlic grow strong and yields well. By following these tips, gardeners can get great garlic bulbs.
Here are some key fertilization tips to keep in mind:
- Apply balanced fertilizer at planting time and again in the spring
- Consider using organic fertilizers to promote sustainable gardening practices
- Timing of fertilizer application is critical, with fertilization every 3-4 weeks during growth
- Avoid too much nitrogen after May to prevent small bulbs
Pest and Disease Management
When transplanting garlic plants, it’s key to think about pest management. This helps stop pests and diseases. Watch your plants closely and act fast to stop diseases like white rot and downy mildew.
Garlic can get pests like onion thrips and spider mites. Use organic ways to fight these, like blue sticky traps and neem oil. For example, organic fungicidal sprays like copper can help with purple blotch in wet times.

Preventative Measures for Diseases
To stop diseases, gardeners can do a few things:
- Crop rotation: Switch garlic with other crops to break pest and disease cycles.
- Sanitation: Get rid of sick plants and trash to stop disease spread.
- Hot water treatment: Soak seed garlic in hot water to kill pests.
By using these pest management tips, gardeners can keep their garlic healthy. This ensures a good harvest when transplanting garlic plants.
Harvesting Garlic
Garlic is ready when the tops turn yellow and fall over. The bulbs should be firm and plump. This usually happens between late June and late July, depending on the variety and climate.
To check if it’s ready, gently dig around the bulbs with a fork. Be careful not to damage the roots or neck.
When harvesting garlic, it’s important not to damage the bulbs. This can cause them to spoil. Use a fork to loosen the soil, then lift the bulbs out carefully.
After harvesting, curing the garlic is key. It improves the flavor and how long it lasts.
Some important tips for harvesting garlic include:
- Harvest on dry days to avoid soil sticking to the bulbs.
- Avoid applying nitrogen after the first week in May to prevent delaying bulbing.
- Stop watering two weeks before harvest to prevent staining and disease.
After transplanting garlic and caring for it, you’ll get a big harvest. By using the right harvesting and curing methods, you can enjoy your garlic for months.
Post-Harvest Garlic Care
After growing and harvesting your garlic, it’s key to cure and store the bulbs right. Curing takes 1 to 2 weeks, but can last up to a month or more if it’s humid. This step dries the outer skins, making the garlic last longer.
After curing, store garlic in a cool, dry spot like a pantry or cellar for up to a year. The best storage temperature is 35-50°F with humidity below 75%. Good post-harvest care keeps your garlic smelling and tasting great. With some care, you can replant garlic and enjoy more flavorful crops every year.
Frequently Asked Questions
Can You Dig Up Garlic and Replant It?
Yes, but timing is key. If you dig up garlic too early, it may not survive the transplant. If necessary, move it in early spring while the roots are still developing. Be gentle when digging to avoid damaging the bulb.
When Can You Transplant Garlic?
The best time to transplant garlic is in early spring before the plant gets too large. If moving garlic in the fall, do it soon after planting so the roots can reestablish before winter. Avoid transplanting once bulbs start forming in late spring.
What Should You Not Plant Near Garlic?
Avoid planting garlic near beans, peas, or asparagus, as it can stunt their growth. Garlic releases natural compounds that affect these plants. However, it grows well with tomatoes, carrots, and lettuce, helping to repel pests.
What Is the Mistake When Planting Garlic?
A common mistake is planting cloves upside down. Always place the pointed end up and the flat end down. Other mistakes include planting in soggy soil, not spacing cloves properly, and failing to remove flower scapes, which can reduce bulb size.
What to Do After Digging Up Garlic?
After harvesting, brush off excess dirt and let the bulbs cure in a dry, well-ventilated area for 2–4 weeks. Keep them out of direct sunlight and avoid washing them, as moisture can cause rot.
Will Garlic Regrow If Left in the Ground?
Yes, but it may not develop into large bulbs. Garlic left in the ground often produces small, clustered bulbs or multiple shoots. To get the best harvest, dig up mature bulbs and replant the largest cloves in the fall.

